Face Scrubbies and Soap Pouch Spa Set Free Crochet Pattern

Crochet Face Scrubbie and Soap Pouch/Soap Saver

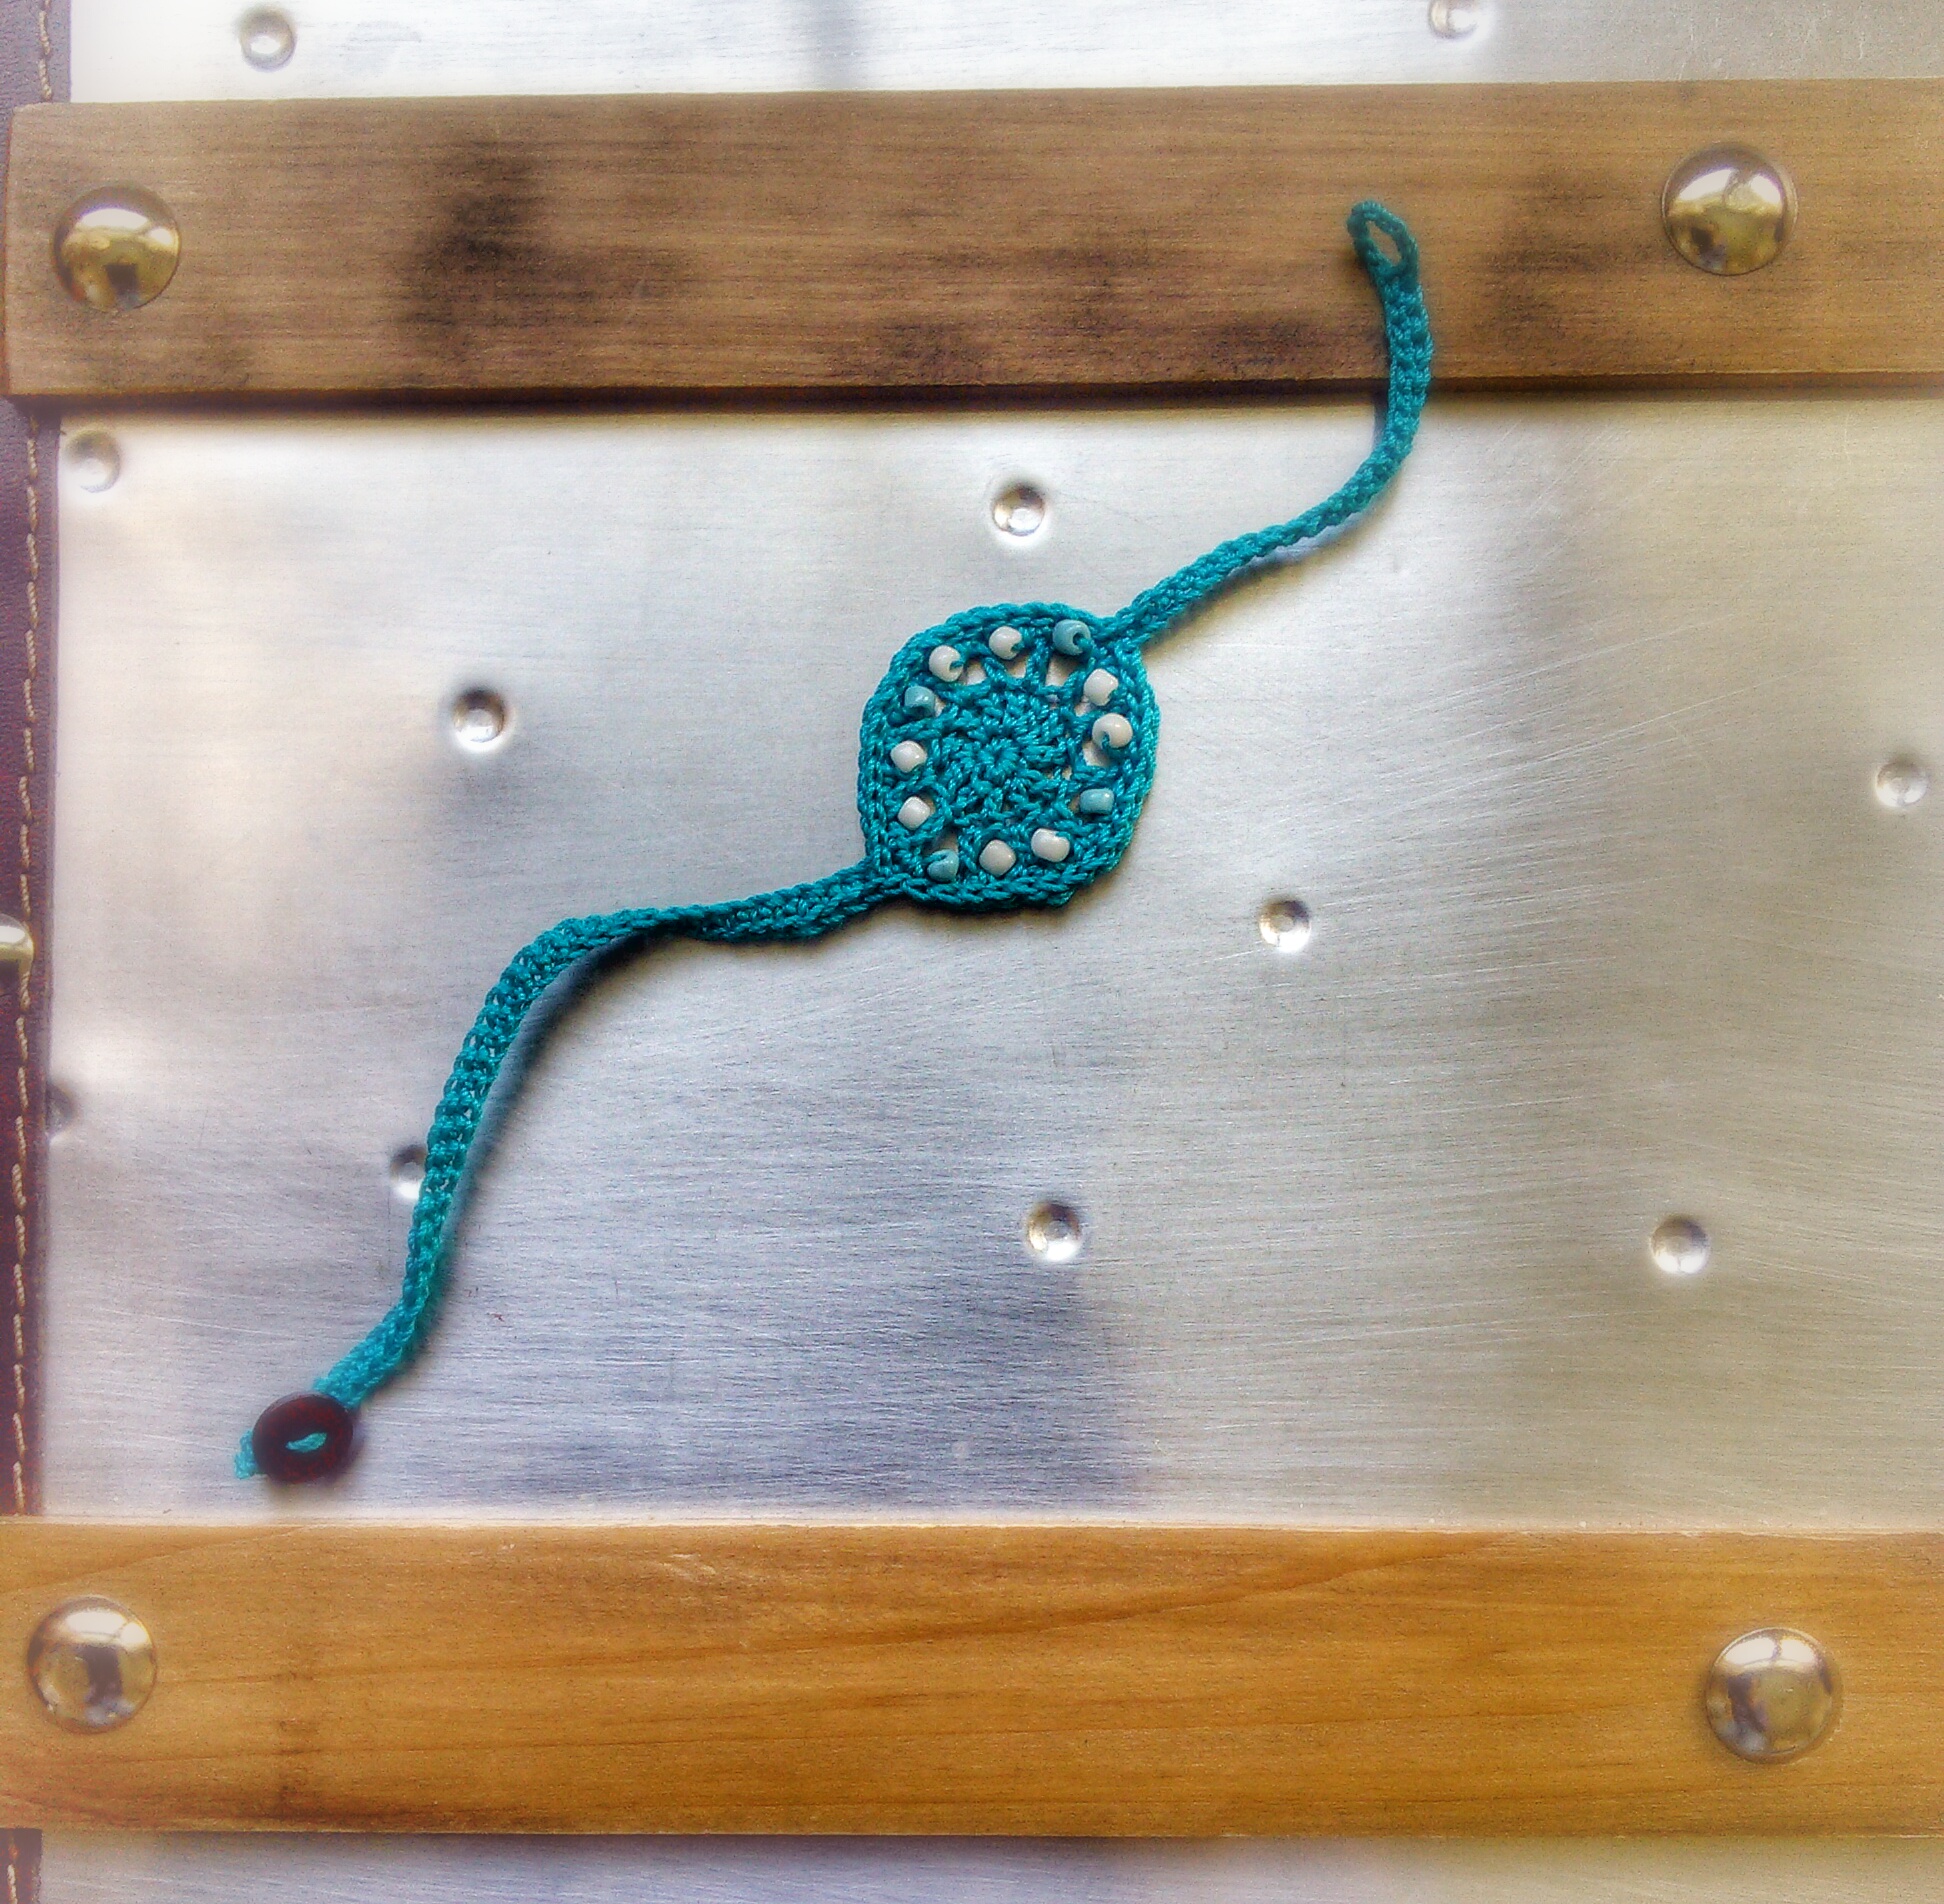
I love using cotton for personal care. This Face Scrubbie and Soap Pouch Spa Set will be a great addition to your personal care arsenal. They are reusable, which is a win in my book, and can last for a while.

I’d originally published this pattern on my book review blog but I am now migrating it to this current blog.

Add Me to Your Ravelry Favorites Button

Want a PDF print version of this pattern? You can now get it for a small fee. Why a fee? While I want to provide as many free patterns for you as possible (I will have some paid patterns here and there), I’d also like to monetize my blog (I’m being honest here) and thus creating a small income for myself so that I can continue providing more free patterns.


Pattern Button

Yarn Used and/or Suggested:
Lily Sugar and Cream 100% cotton, #4, Country Stripes, 120 yards
One skein will yield 8 (or more) face scrubbies and one soap pouch with tie string.
*Any 100% cotton #4 in any color will do.

Hook:

US Hook, US 7/4.5mm

Notions and other materials:
Stitch marker
Darning needle for weaving in ends
Gauge:
Not important

Abbreviation of stitches used (US):
CH = Chain
SC = US Single Crochet
HDC = Half Double Crochet
DC = Double Crochet
SLST = Slip Stitch
RD = Round
ST = Stitch

Special Stitch Used:
Magic ring/circle: Here’s an instructional post from All Free Crochet:
http://www.allfreecrochet.com/Tutorials/How-to-Crochet-the-Magic-Circle
If you can’t do the magic ring/circle, do the following to begin your round: chain 3, join with slip stitch, chain 1 and proceed with specified amount of single crochet in ring. Do not count chain 1 as a stitch.
Grit Stitch: You can follow the tutorial at Moogly Blog.
Please feel free to email me at diannevhunt@gmail.com with any questions.

Note: Chain 1, chain 2, and chain 3 do not count as a stitch. Photos at the end.

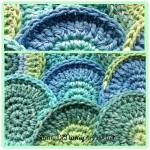
Face Scrubbies – Make 8 (or more if you’d like).

RD 1: 8SC in magic circle/ring, join with SLST to top of 1st SC
RD 2: CH 1 (does not count as a stitch), 2SC in same ST as CH 1, 2SC in each SC around; join with SLST to top of 1st SC (not CH 1 join)
RD 3: CH 1, 1SC in same ST, 2SC in next ST, *1SC in next ST, 2SC in next ST*, repeat from *to* around, join with SLST to top of 1st SC, 24SC
RD 4: CH 3, 1DC in same ST, 2DC in next ST, *1DC in next ST, 2DC in next ST*, repeat from *to* around, join with SLST to top of 1st DC, 36DC
RD 5: CH 1, 1SC in same ST, 1SC in each ST around, 36SC, fasten off and weave in ends

Soap Pouch – Make one.

RD 1: CH 14, 1SC in second chain from hook, 1SC in next 13 ST, do not turn, going on other side of chain, 1SC in each ST to end of chain, 26SC
RD 2: CH 1 (does not count as a stitch), 1SC in same ST, 1SC in each ST around, join with SLST to top of 1st SC (not CH 1 join), 26SC
RD 3-18: Do not join. Begin working in continuous round. Use stitch marker to mark beginning of each round for easier counting. 2SC to top of 1st SC, skip next ST, *2SC in next, skip next ST*, repeat from * to * around, 13 2SC clusters – 26 SC total, 13 skipped spaces. In last round, join with SLST to top of 1st SC
RD 19: CH 2 for height (does not count as ST), 1HDC in same ST, CH 1, skip next ST, *1HDC in next ST, CH 1, skip next ST*, repeat from * to * around ending with CH 1, join with SLST to top of 1st HDC, 13HDC and 13 CH 1 space, 26 total stitches
RD 20: CH 1, 1SC in same ST, 1SC in each HDC and CH 1 space around, 26SC, fasten off and weave in ends

String – Make one

Chain 50 – or desired length. Wrap chain around CH 1 spaces. Tie with a knot at end and weave in ends

Crochet Face Scrubbie and Soap Pouch/Soap Saver

You can now print a copy of this pattern for your pattern library for a minimal fee of $1. Why a fee? While I want to provide as many free patterns for you as possible (I will have some paid patterns here and there), I’d also like to monetize my blog (I’m being honest here) and thus creating a small income for myself so that I can continue providing more free patterns.

Copyright © 2014 Same DiNamics Crochet
diannevhunt@gmail.com
Same DiNamics Crochet
This pattern is to not be redistributed or sold.
The finished item may be sold or given away as a gift.

Dreamcatcher’s Anklet

Crochet Anklet

I LOVE anklets. I love having my ankles adorned over the summer, when sandal season is in full swing. I feel they make my legs looks sexy.

This Dreamcatcher’s Anklet is one of my first designs. This design was found on my book review blog but now it has found a new home here on Same DiNamics Crochet.

Well, in addition to sharing the pattern on Ravelry, I’m going to share it here on my blog as well for those who do not have Ravelry accounts. Please let me know if you have any questions at all.

Add Me to Your Ravelry Favorites Button

Want a PDF print version of this pattern? You can now get for a small fee. Why a fee? While I want to provide as many free patterns for you as possible (I will have some paid patterns here and there), I’d also like to monetize my blog (I’m being honest here) and thus creating a small income for myself so that I can continue providing more free patterns.


Pattern Button

Yarn Used and Suggested:
Aunt Lydia’s Crochet Thread, Size 10, Mercerized Cotton, Turquoise
*Any mercerized cotton in size 10 and in any color will do

Hook:
US Steel Hook, 8/1.8mm

Notions and other materials:
12 beads, in desired color, size 3.5mm
Small button, with two holes preferably but not necessary, in desired color
Darning needle for weaving in ends

Gauge:
Not important

Abbreviation of stitches used (US):
CH = Chain
SC = US Single Crochet
DC = US Double Crochet
SLST = Slip Stitch
RD = Round
ST = Stitch

Special Stitch Used:
Magic ring/circle: Here’s an instructional post from All Free Crochet:
http://www.allfreecrochet.com/Tutorials/How-to-Crochet-the-Magic-Circle
If you can’t do the magic ring/circle, do the following to begin your round: chain 3, join with slip stitch, chain 1 and proceed with specified amount of single crochet in ring. Do not count chain 1 as a stitch.

Please feel free to email me at diannevhunt@gmail.com with any questions.

Anklet Motif:
Thread 12 beads onto the crochet thread.

RD 1: 6SC in magic circle/ring, join
RD 2: CH 3 (counts as 1st DC), 1DC in same stitch, 2DC in each ST around, 12DC, join
RD 3: CH 3 (counts as 1st DC), *CH2, (when doing second chain ST grab bead and crochet bead into your chain ST), 1DC in next ST,* repeat from * to * till end, 12DC, 24 CHs with 12 beads, join
RD 4: CH1 (does not count as a ST), *1SC in same ST, 1SC in chain 2 space. I did 1SC in front of bead and 1SC behind bead, it’s still the chain 2 space.* Repeat from * to * around, 36SC, join

Working band of anklet:

1st half of band:
CH 41,
1SC in 2nd chain from hook, 1SC all the way down, 40SC,
SLST into the SC of the round, 17SLST around,
At the end of band, sew on button, see picture.

2nd half of band:
CH 30,
1SC in 8th chain from hook (this creates the loop for the button), 1SC all the way down, 22SC,
SLST into the SC of the round, 17SLST
Fasten off

VERY IMPORTANT
This piece will be customized to the wearer of the anklet. You will chain a certain amount of chain stitches to wrap halfway around your ankle, ***in multiples of 10 plus 1. Then you will SC all the way down and slip stitch halfway around the motif. Then you will work the other side of your band, ***in multiples of 10. You will create a loop for your button by doing a SC on the 8th chain. Then SC all the way down and slip stitch around the other half of motif and fasten off.
***I measured the bands around my ankle as I crocheted my chain, so your chain stitch count will be different according to how tight or loose you’d like your anklet to fit. The numbers represented in directions are used as an example for you. Those numbers are customized to fit my ankle.

You can now print a copy of this pattern for your pattern library for a minimal fee of $1. Why a fee? While I want to provide as many free patterns for you as possible (I will have some paid patterns here and there), I’d also like to monetize my blog (I’m being honest here) and thus creating a small income for myself so that I can continue providing more free patterns.


Copyright © 2014 Same DiNamics Crochet
diannevhunt@gmail.com
Same DiNamics Crochet
This pattern is to not be redistributed or sold.
The finished item may be sold or given away as a gift.


Crochet anklet

Crochet Anklet

4th of July Crochet Patterns Round Up

4th of July Crochet Patterns for the Home Collection

4th of July Crochet Patterns Round Up

I have to say that my favorite Summer holiday is the 4th of July. I don’t know if it’s my patriotism; or if it’s the summer heat and visiting and sharing with friends; or if it’s the fireworks that light up the night sky that makes me love this holiday so much. Perhaps, it’s all of those and more.

I’ve been wanting to do some decorations for the holiday but also creating those decorations with my hands. I decided to look around the wonderful and vast universe that is the internet for awesome crocheted ideas. I’m gonna share these with you. I’ve rounded up several free and paid patterns with links back to the designers’ pages so that you can check out the incredible designs.

Happy 4th of July!

1. Petals to Picot – American Flag Wreath Crochet Pattern, Free

“I always find myself admiring Lucy’s crochet wreaths on Attic 24, like this one here and this one here, so I thought it would be fun to try one of my own. With the 4th of July approaching, a patriotic wreath seemed the perfect idea. I love how it came out and am looking forward to making one for every holiday! Hope you enjoy it …” – Petals to Picot

American Flag Wreath Crochet Pattern


2. Patriotic Bunting – Free Ravelry Download

Patriotic Bunting is a quick and easy way to decorate for the 4th of July holiday!

Patriotic Bunting


3. Red Heart – American Place Setting – Free Download

Show your spirit on July 4th, Memorial Day, Labor Day or any patriotic event with this table setting. If you don’t have time to crochet enough placemats for a crowd, just make a set of coasters or napkin rings! – Red Heart

Americana Place Setting


4. Red Heart – Patriotic Pillow Crochet Pattern, Free

Give a cheer for the red, white and blue with this patriotic pillow. It’s perfect for a room accent or to give to anyone who has a loved one serving our country. – Red Heart

Patriotic Pillow Crochet Pattern


There you have it! These are quick projects that you can work up to decorate your home in time for the 4th of July!

Much Love and Happy Hooking,

D.

Free Crochet Necklace and Wrist Cuff Pattern

Crochet Choker Necklace and Wrist Cuff

The Beach Necklace and Wrist Cuff are a great companion to the St. Croix Beach Wrap (which also doubles as a shawl). Whether your at the beach, lake, or pool your ensemble will be complete with these accessories.

The necklace can be worn as a choker or a loose necklace with the button settling at the hollow of your neck.

You can add the Beach Necklace and Wrist Cuff to your Ravelry favorite our queue here.

Yarn Used and Suggested:
Bernat Cotton-ish #3 Light
Or any #3 yarn

Hook and other materials
3.5mm/US4
Scissors
Needle for weaving in ends
Button big enough to fit through holes. I used a 1” button.

Gauge:
Not necessarily important, as you will be measuring your neck and wrist for length.

Abbreviation of stitches used (US):
FSC – foundation single crochet; ch – chain; st(s); stitch(es); sc – single crochet; dc – double crochet; sk – skip; sl st – slip stitch

Special Stitch Used:
FSC – ch2, (does not count as st), insert hook into first ch, yo, pull up loop (2 loops on hook), yo, pull through one loop (2 loops on hook), yo, pull through both loops, one FSC made.
Shell – 5dc in one st
Video tutorial on FSC can be viewed on Moogly Blog http://www.mooglyblog.com/foundation-single-crochet-fsc/

General Pattern Notes:
While this pattern is made using a #3 yarn and there is no specific gauge, you can certainly make it with whichever yarn you choose. However, keep in mind that you must follow the stitch count pattern of 12 stitches plus 4 stitches. You will have to measure your neck and wrist to get a good fit.
Ch3 counts as a double crochet. Ch1 does not count as a stitch

Necklace Notes and Pattern:
Pattern is written using my neck measurements of 13”. You will make your FSC to one inch less than your measurement, mine is 12”, give or take a few centimeters. However, I followed the stitch count pattern and came up with 76 FSC (12×6=72; 72+4=76 – this is the 12 stitches plus 4 stitches)

Row 1: FSC – 76, turn
Row 2: ch 3 (counts as a dc), 1dc in the next 3 sts, [sk 2 sts, shell in next st, ch2, sk 4 sts, 1dc in next 5 sts] 6x, sk 2 sts, shell in next st, ch2, sk 4 sts, 1dc in last 5 sts, turn
Row 3: ch3, 1dc in the next 3 sts, [sk 2 sts, shell in next st (first dc of shell below), ch2, sk 4 sts, 1dc in next 5 sts] 6x, sk 2 sts, shell in next st, ch2, sk 4 sts, 1 dc in last 5 sts, turn
Row 4: Repeat row 3 once or until desired width for necklace choker. Do not fasten off, move on to edging.

Edging: ch1, turn, 1 sc in same st, 1 sc in each st across and around entire piece placing 3 sc at each corner. Sl st to first sc made to fasten off piece. Your sc count will vary depending on how many sc you place on the sides of your piece.

Add your button and you’re finished.

Wrist Cuff Notes and Pattern:
Pattern is written using my wrist measurement of 5”. You will make your FSC to measure about an inch over your measurement (yes, it’s different than the necklace measurement, at least that’s how it worked out for me). Remember to follow the stitch count pattern of 12 stitches plus 4 stitches. Following the stitch pattern, I came up with 40 FSC (12×3=36; 36+4=40).

Row 1: FSC – 40, turn
Row 2: ch 3 (counts as a dc), 1dc in the next 3 sts, [sk 2 sts, shell in next st, ch2, sk 4 sts, 1dc in next 5 sts] 3x, sk 2 sts, shell in next st, ch2, sk 4 sts, 1dc in last 5 sts, turn
Row 3: ch3, 1dc in the next 3 sts, [sk 2 sts, shell in next st (first dc of shell below), ch2, sk 4 sts, 1dc in next 5 sts] 3x, sk 2 sts, shell in next st, ch2, sk 4 sts, 1 dc in last 5 sts, turn
Rows 4-5: Repeat row 3 twice or until desired width for wrist cuff. Do not fasten off, move on to edging.

Edging: ch1, turn, 1 sc in same st, 1 sc in each st across and around entire piece placing 3 sc at each corner. Sl st to first sc made to fasten off piece. Your sc count will vary depending on how many sc you place on the sides of your piece.

Add your button and you’re finished.

Please feel free to email me at diannevhunt@gmail.com with any questions.

Want to print this pattern out for your convenience? You can now do so for a small fee of $1. Why a fee? While I want to provide as many free patterns for you as possible (I will have some paid patterns here and there), I’d also like to monetize my blog (I’m being honest here) and thus creating a small income for myself so that I can continue providing more free patterns.

Buy Now Button

Copyright © 2015 Same DiNamics Crochet
diannevhunt@gmail.com
Same DiNamics Crochet
This pattern is to not be redistributed or sold.
The finished item may be sold or given away as a gift.

Crochet Choker NecklaceCrochet Choker NecklaceCrochet Wrist Cuff